Weekly Postings Report: how to create and record (use for jobs, internships, and on-campus jobs)
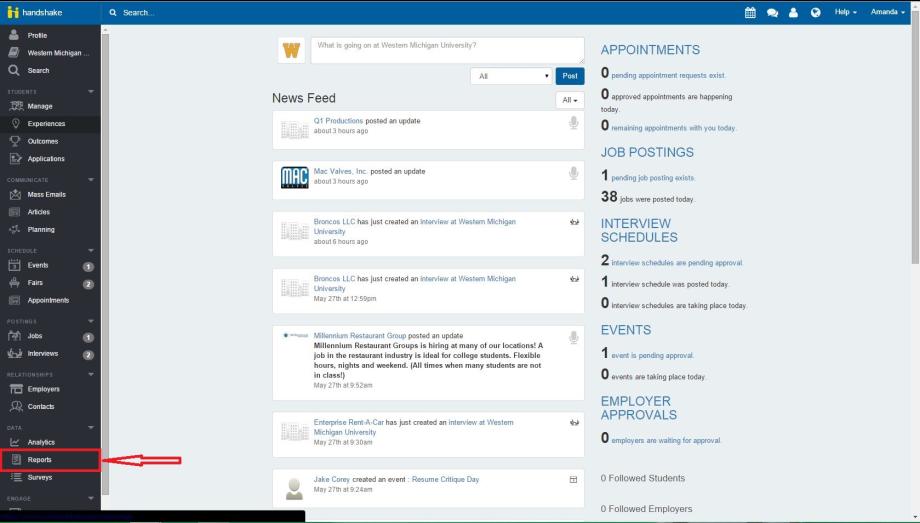
1. Be sure you are in your Career Services/admin account.
2. In the black sidebar on the left side of the page, click on the "Reports" tab under the "Data" section.
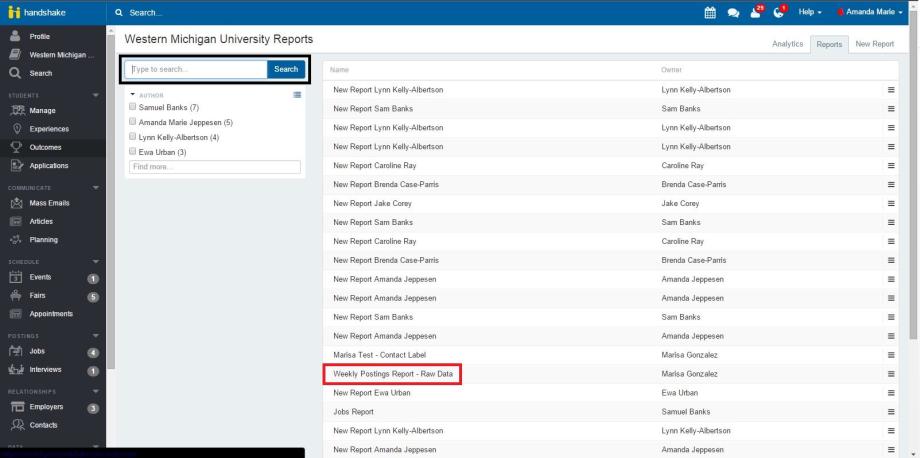
3. Locate the report entitled "Weekly Postings Report - Raw Data" by finding it in the list of reports (red box) or by searching those exact words in the search box near the top left corner of the page (black box). Once you locate it, click on the name.
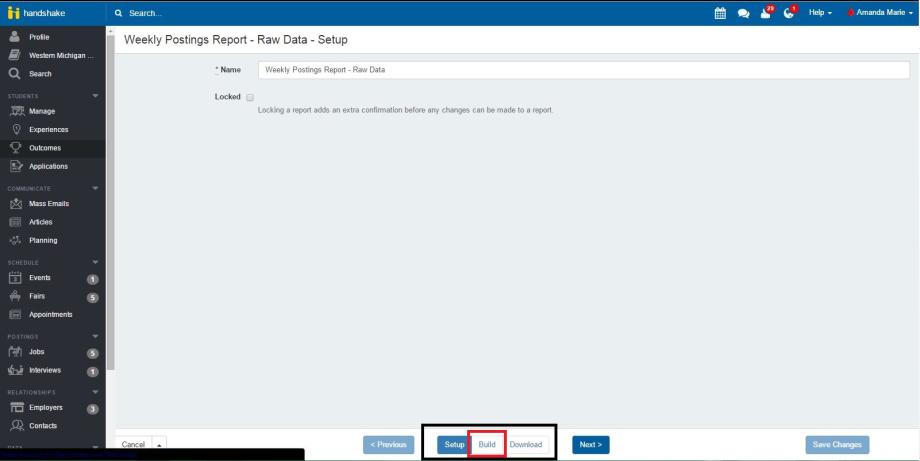
4. At the bottom middle of the page, there are three options: "setup," "build," and "download" (black box). Click on "build" (red box).
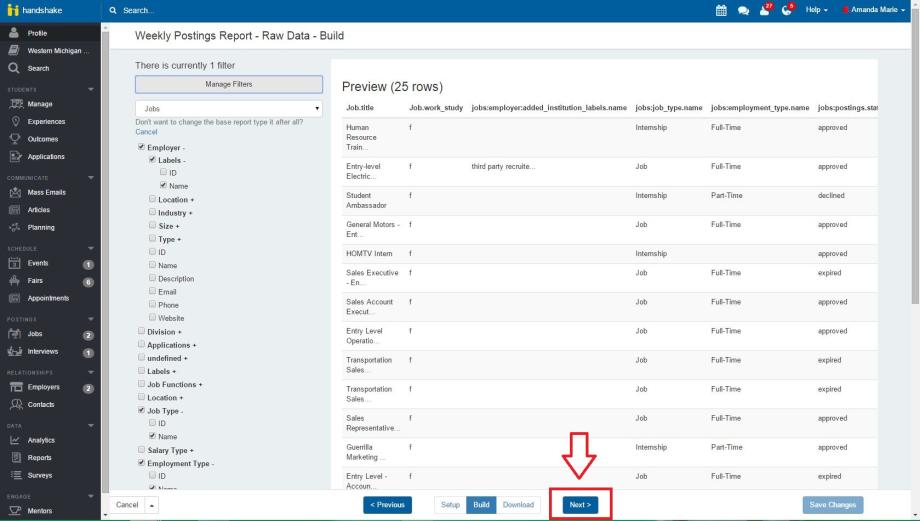
5. Near the top left-hand corner of the page, use the drop-down menu to be sure you are running the report on jobs (red box). Next, click on the "Manage Filters" button directly above it (black box).

6. In the subsequent pop-up box, check these pre-filled data fields to ensure their accuracy:
- The first, top box should say "Job:postings.response_date" (red arrow and box)
- The second box, lower and to the left, should say "after" (black arrow and box)
- The third box, lower and to the right, should say the previous Monday's date, at 1:00 a.m., corresponding to a week before you run the report (purple arrow and box)
- If all of those are correct, exit out of the pop-up box by clicking on the "x" at the top right corner of the pop-up box (green arrow and box)

7. Near the bottom right corner of the screen, click the blue "Next" button.
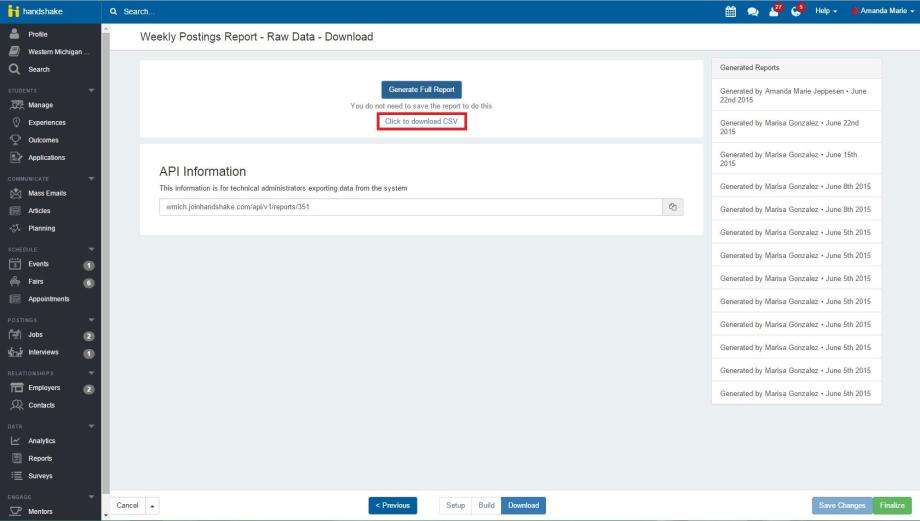
8. Near the top middle of the next page, click on the blue "Generate Full Report" button.

9. Wait a few seconds. When the report is ready, a link titled "Click to download CSV" will appear under the blue "Generate Full Report" button. Click on the "Click to download CSV" link. The report will download in Excel.
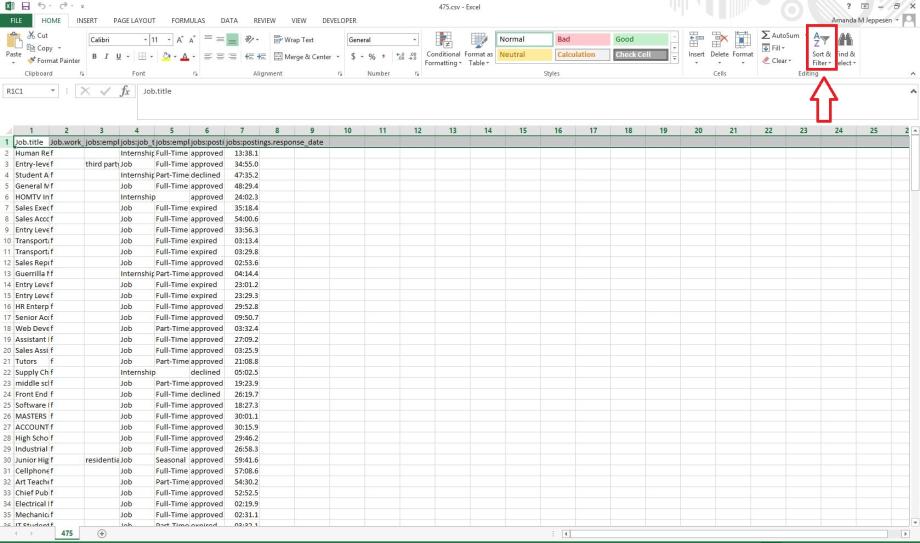
10. In the Excel file, at the top left corner of the page, click the number 1 to highlight the top row.

11. Find and click on the "Sort & Filter" function near the top right corner of the page within the "Editing" section.
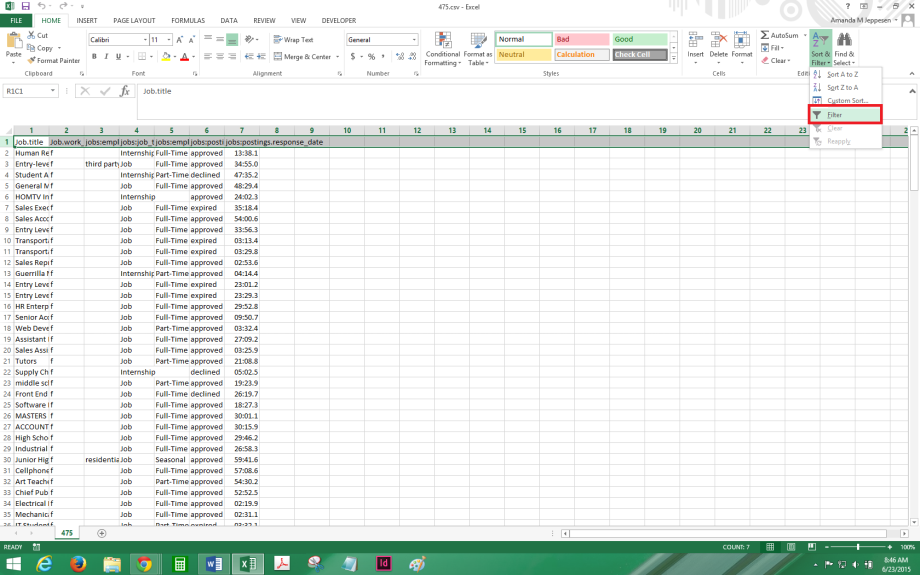
12. From the subsequent drop-down menu, select the "Filter" option.
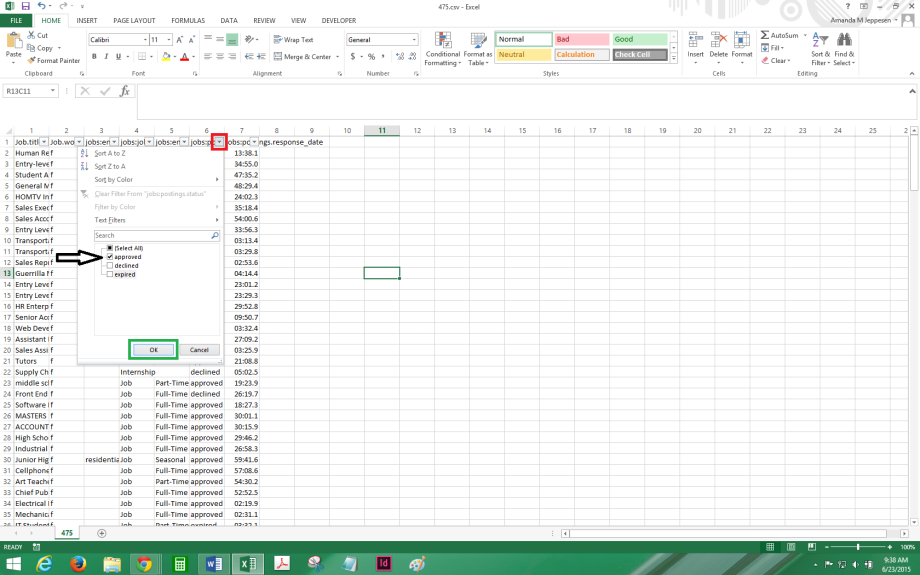
13. Clicking "Filter" will create drop-down menus attached to each column. Go to column F (6) and click the drop-down arrow (red box). Then, make sure the ONLY box checked is "approved" (black arrow). Finish by clicking "Ok" at the bottom of the drop-down box (green box).
14. Minimize this Excel sheet by clicking on the bar icon at the top right-hand corner of the page.

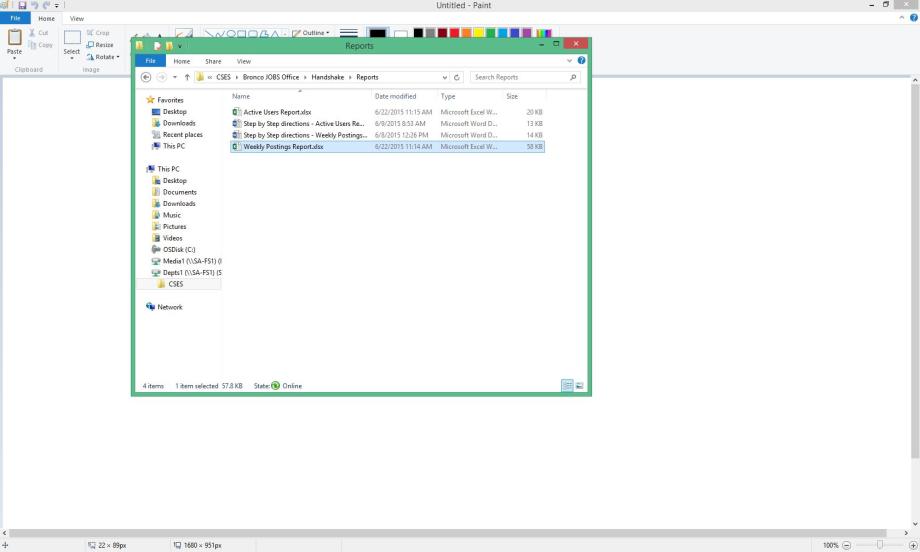
15. Access the shared drive ("S" drive) and find the Excel file named "Weekly Postings Report" at S:\CSES\Bronco JOBS Office\Handshake\Reports.
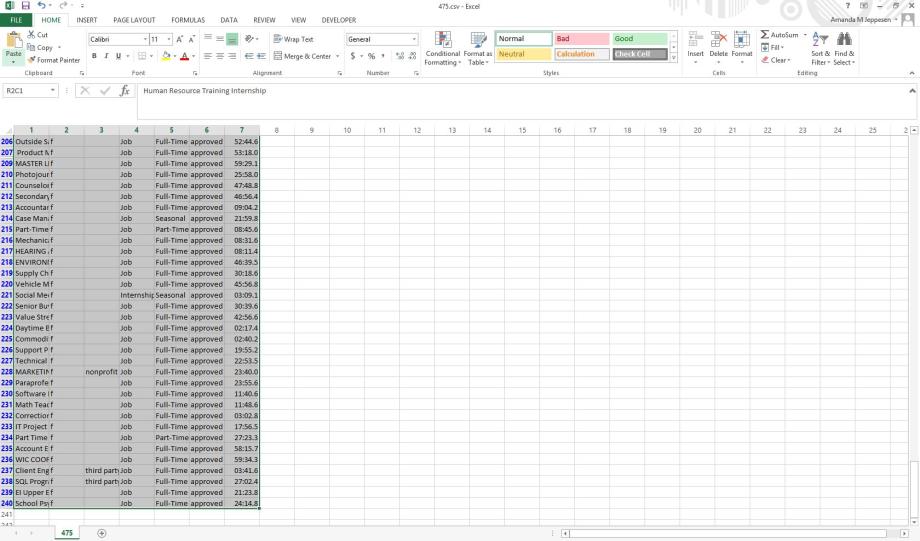
16. Bring up the report downloaded from Handshake. Copy the data in all columns starting from row 2 to the end of the data.
17. Bring up the "Weekly Postings Report" document you found on the Shared ("S") drive. Near the bottom left-hand corner of the page, click on the "Raw Data" tab.

18. Remove the data in all columns starting with row 2 in the "Raw Data" tab. Then, paste the data you copied from the Handshake download.
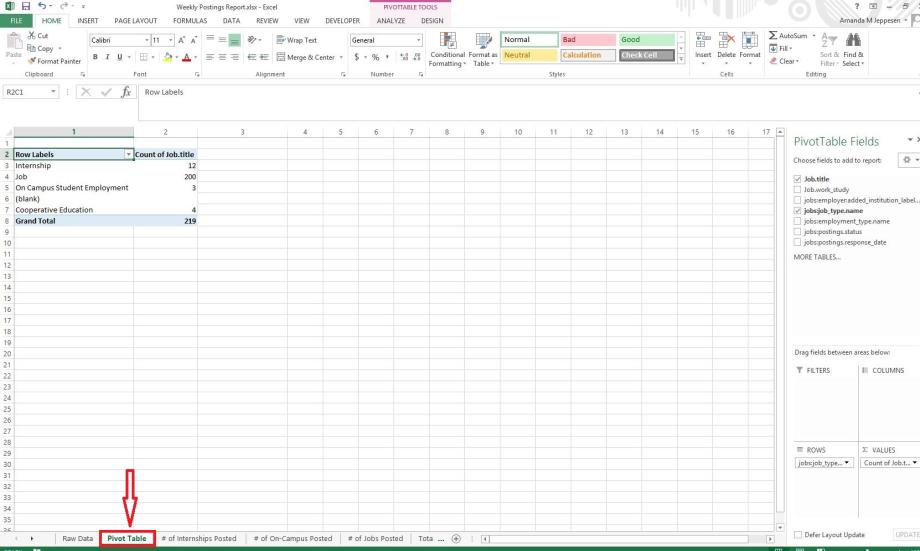
19. At the bottom of the page, click on the "Pivot Table" tab, which is to the right of the "Raw Data" tab.
20. At the top middle of the page, in the "Pivot table Tools" section, click on the "Analyze" tab.
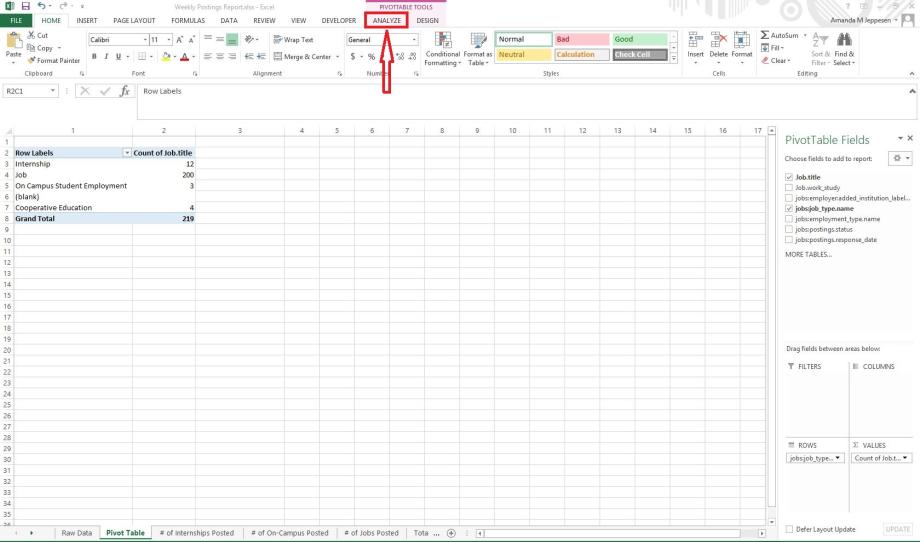
21. Located directly underneath the word "Analyze," click on the "Refresh" button.

22. Record the numbers from the pivot table into the correct date spaces in the corresponding tabs:
- Record the number of internships posted in the table located on the "# of Internships Posted" tab (red arrows). The graph will update automatically.
- Record the number of jobs posted in the table located on the "# of Jobs Posted" tab (black arrows). The graph will update automatically.
- Record the number of on campus student employment positions posted in the table located on the "# of On-Campus posted" tab (lavender arrows). The graph will update automatically.
- Record the grand total number in the table located on the "Total # Posted" tab (green arrows). The graph will update automatically.

23. Save the "Weekly Postings Report" document. You may exit out of the download from Handshake without saving it, because that data is now saved on the "Weekly Postings Report" sheet.